
Last updated November 15, 2026
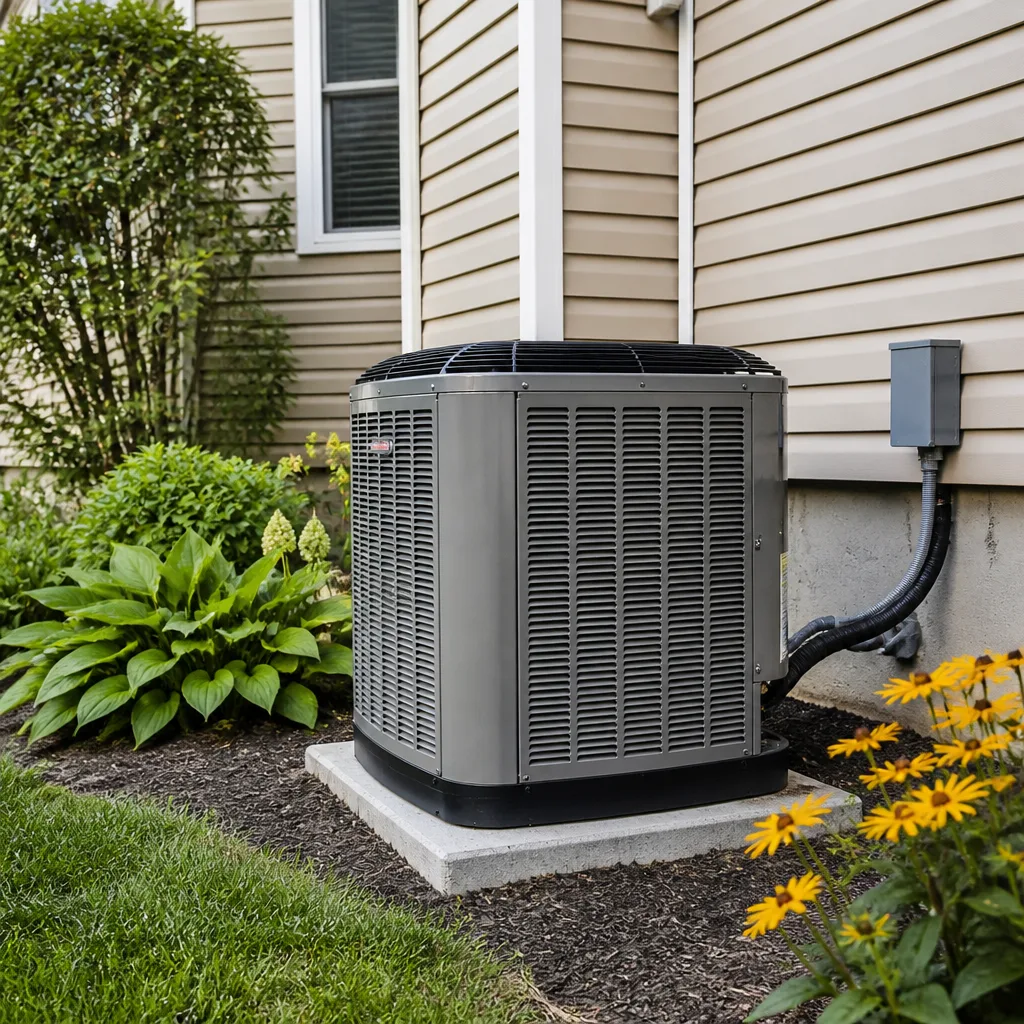 AC repair
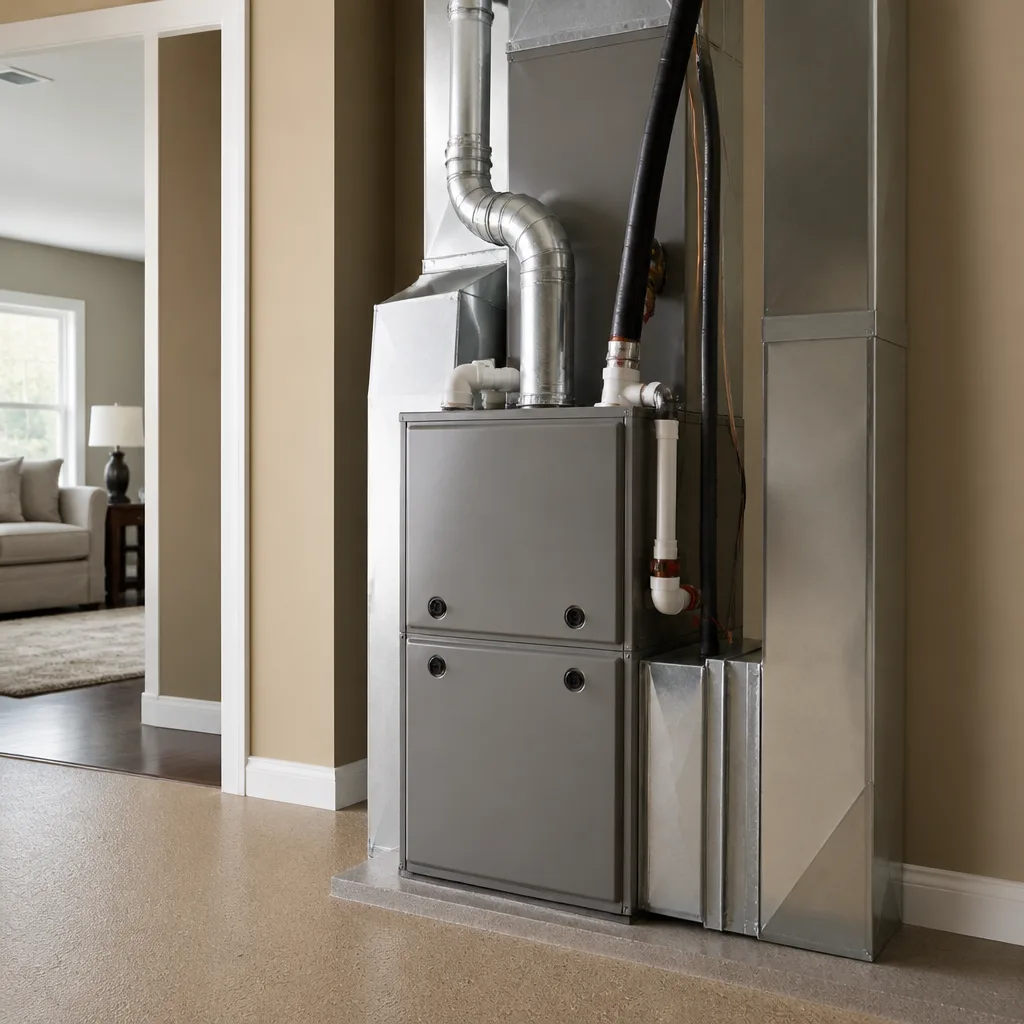 Furnace & heating
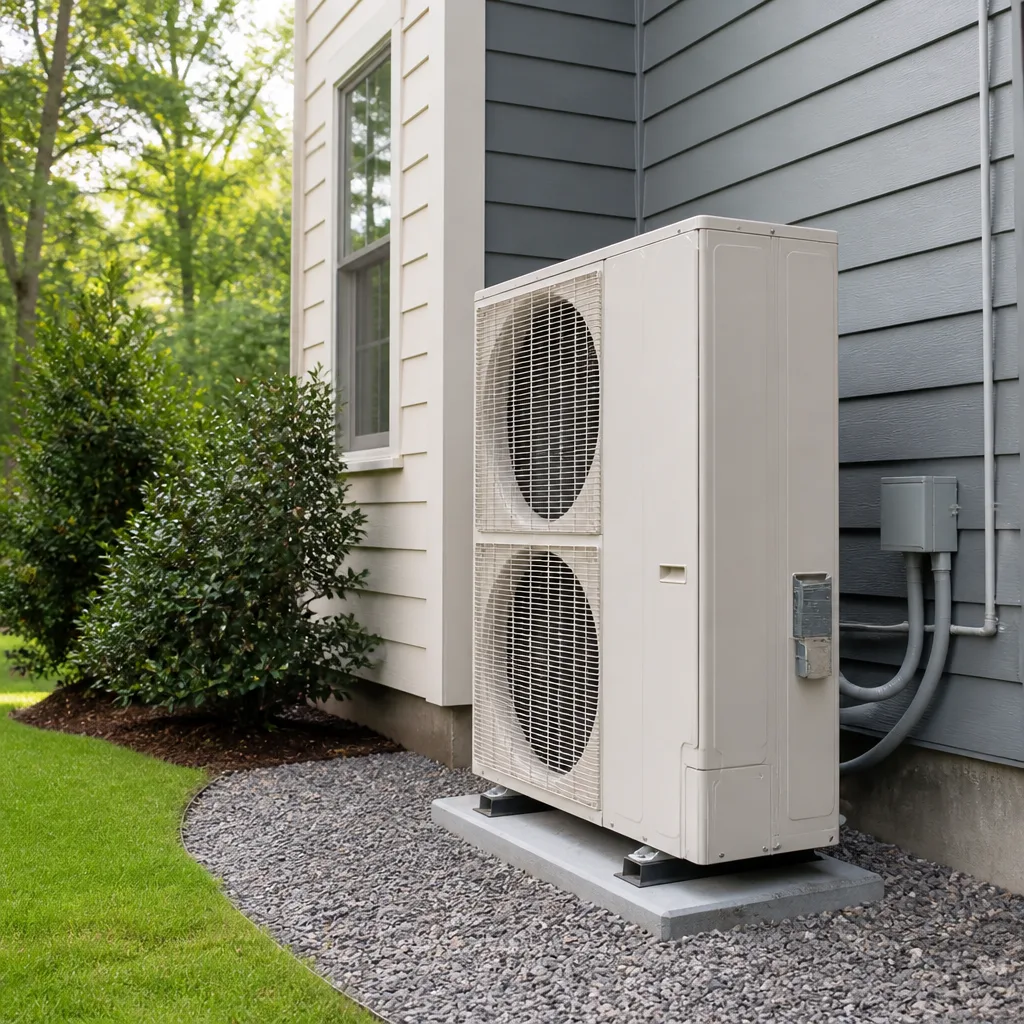 Heat pumps
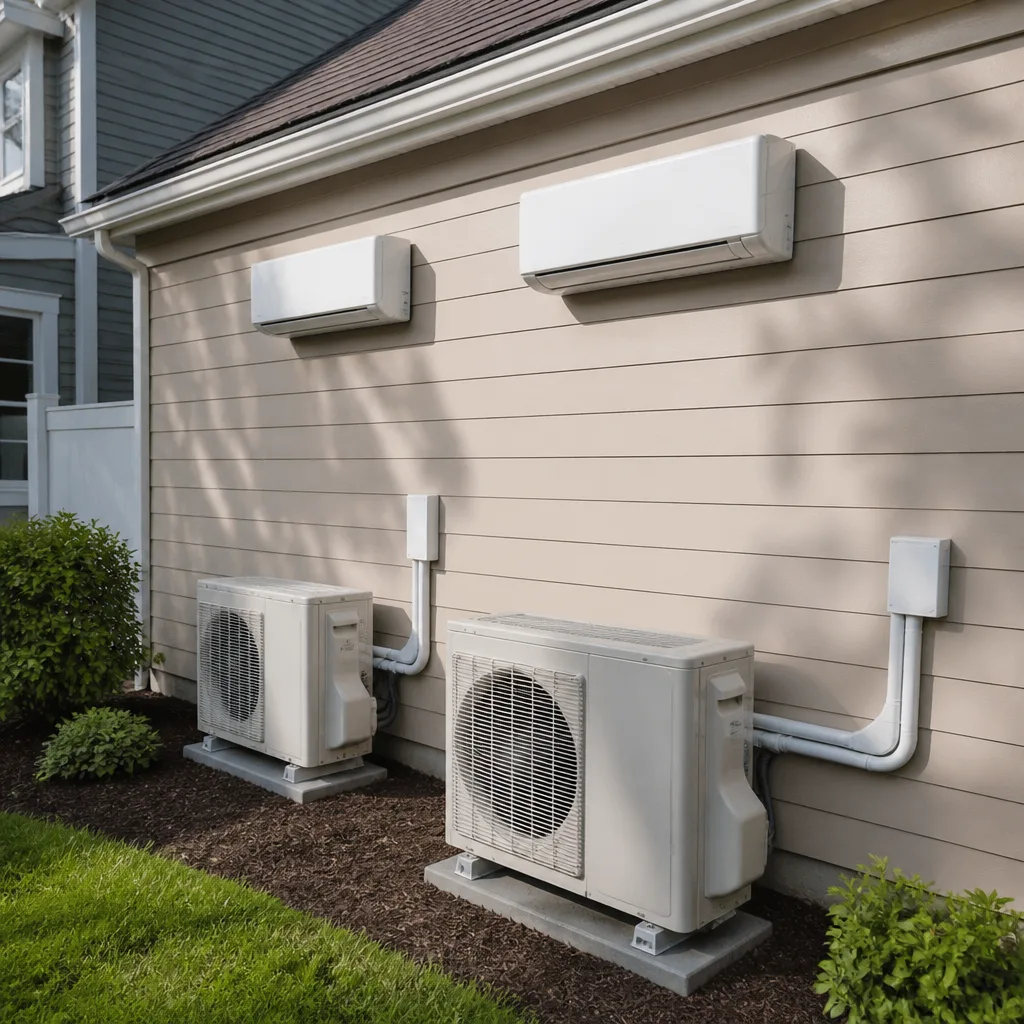 Ductless mini splits
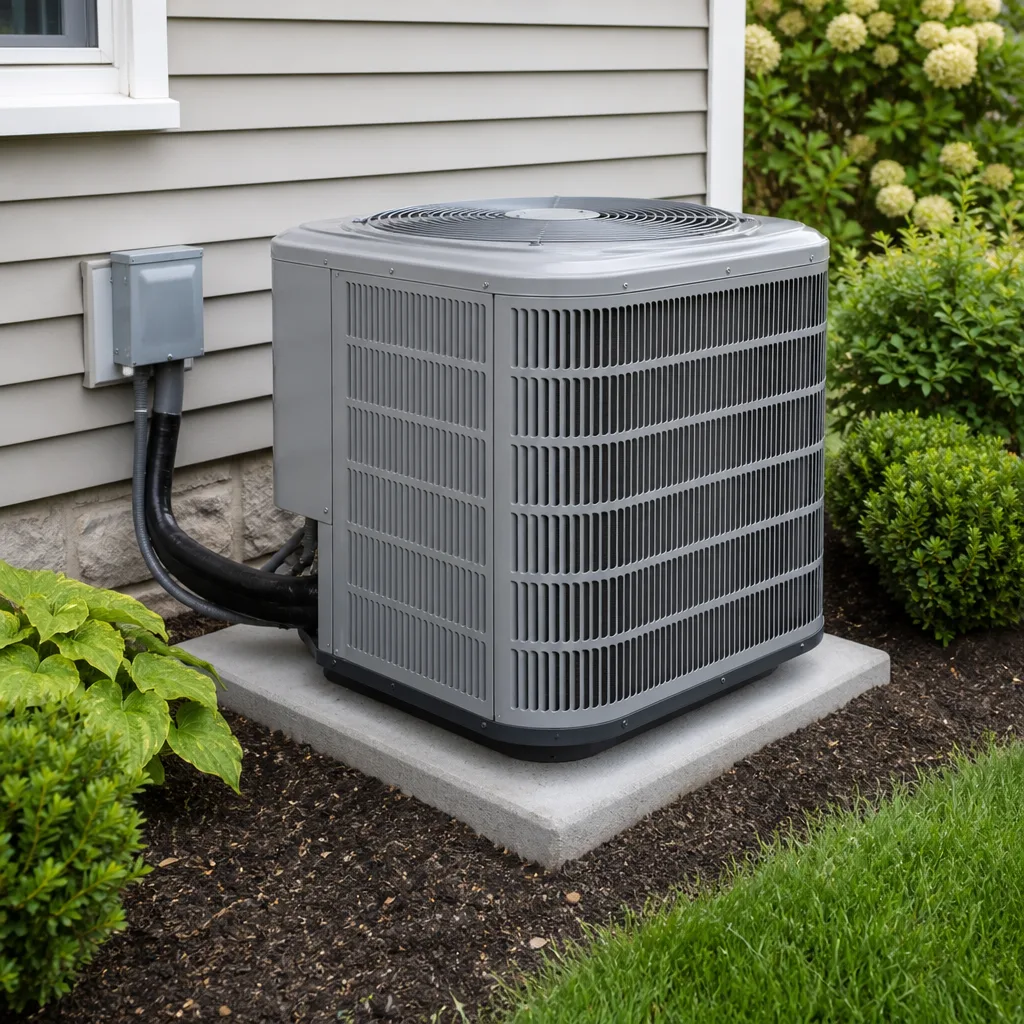 Carrier
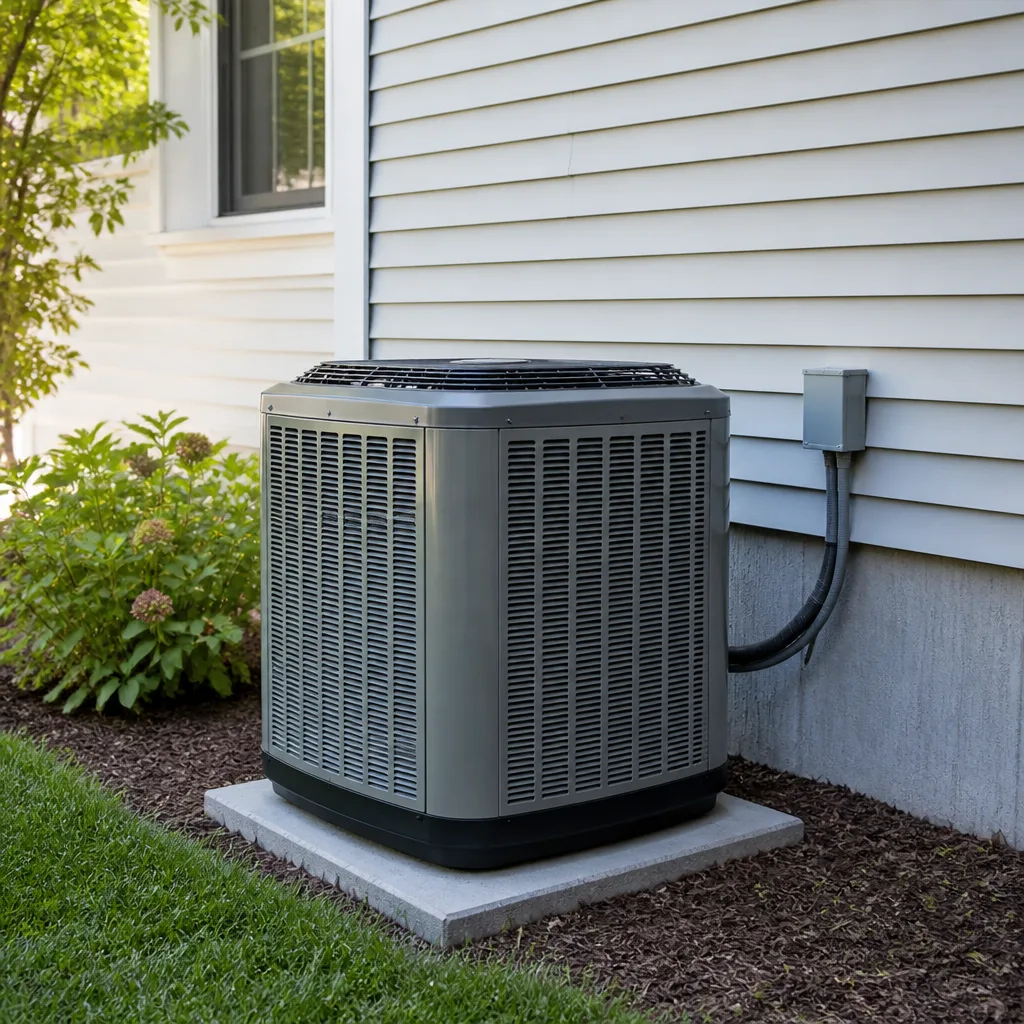 Trane
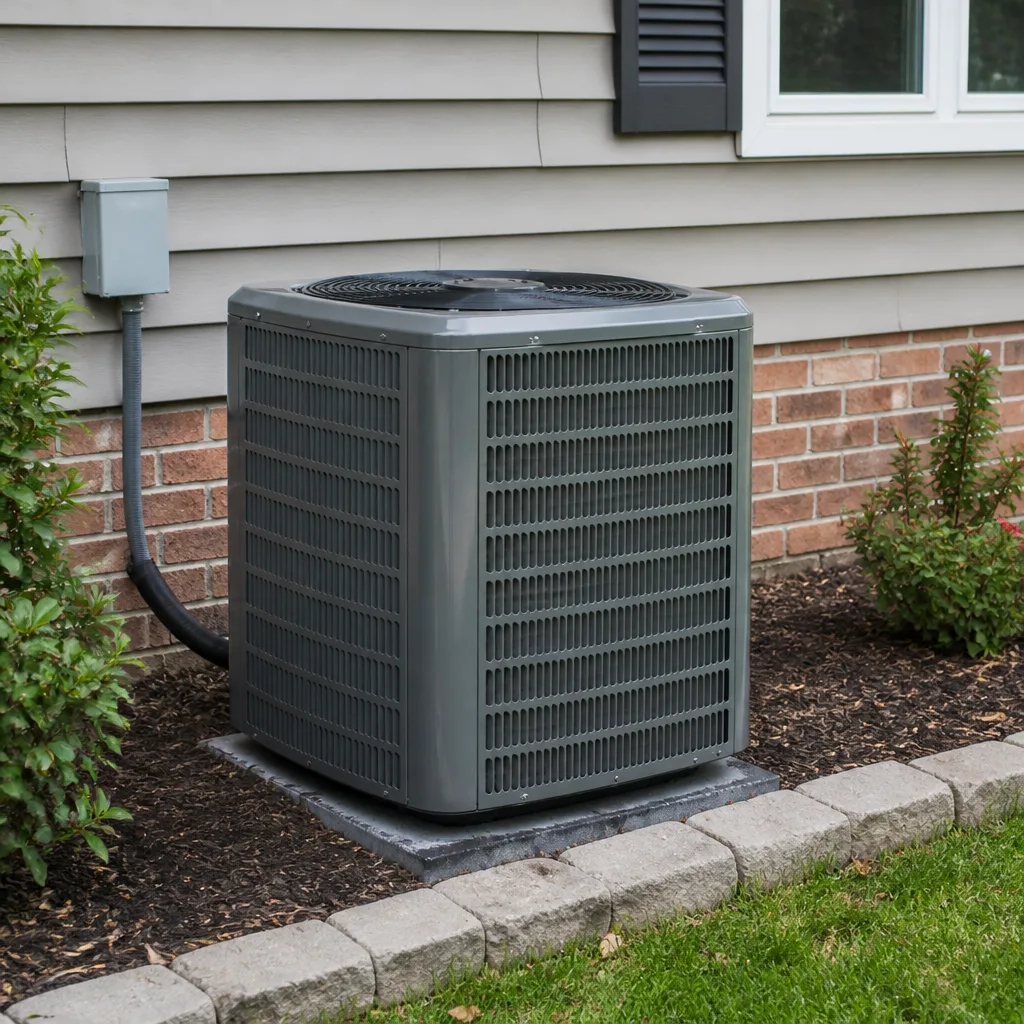 Goodman
Seasonal tune-up and full diagnostic on your Carrier, Trane, or Goodman system - readings shown to you before any repair is proposed
Diagnosis first, numbers second - you approve the repair price before a single part goes in.
Get your free estimateAC Repair Maintenance Checklist for Pearland Homeowners
Most AC maintenance checklists are written for a made-up “average homeowner” in a temperate climate. Pearland doesn’t have a temperate climate. It has a long, humid cooling season that starts pressing on your system in May and doesn’t let go until October, and the damage that ends in a June breakdown is usually done quietly in March and April. The calls we get most often in July and August aren’t about failed compressors or mysterious refrigerant leaks. They’re about frozen evaporator coils caused by a clogged condensate drain that a cheap flush tablet in spring would have prevented. This guide covers the tasks that actually matter here, month by month, calibrated to how Pearland’s weather really behaves.
Quick Answer
A full AC maintenance checklist for a Pearland home includes filter changes every 30 to 60 days during cooling season, a monthly condensate drain flush with tablets during high humidity, condenser coil rinsing before the season starts, refrigerant line insulation inspection on the exterior run, and a pad check after heavy rain. Most of these are homeowner tasks; coil cleaning, refrigerant checks, and electrical inspections belong to a licensed technician. Doing the easy ones on schedule prevents the majority of mid-summer breakdowns.
Styles & brands we work with
- AC repair
- Furnace & heating
- Heat pumps
- Ductless mini splits
- Carrier
- Trane
- Goodman
Table of Contents
- Pearland’s Actual Cooling Season: A Month-by-Month Map
- The Filter Change Math for Pearland Homes
- Drain Line Maintenance in Pearland’s Humidity Load
- Inspecting Refrigerant Line Insulation on the Exterior Run
- What to Check on the Condenser Pad After Heavy Rain
- Outdoor Unit Clearances and Coil Condition
- The Tasks That Belong to a Technician
- Common Mistakes to Avoid
Pearland’s Actual Cooling Season: A Month-by-Month Map
Generic maintenance advice splits the year into “spring” and “fall” and calls it done. That split doesn’t fit Pearland, where the system may run hard from late April into October and barely rest in between. Here’s how we think about the year for a typical Pearland home, based on what we actually see on service calls.
- February to March: Pre-season inspection window. Filter replacement, outdoor unit cleaning, drain line flush, visual check of the pad and line insulation. This is the cheapest time of year to catch a problem.
- April to May: System starts running daily. Set a reminder to check the filter at the 30-day mark so you know your home’s real change interval before the heavy load hits.
- June to September: Peak load months. Filter changes every 30 days, monthly drain flush, and an eye on the condensate pan and drain exit. This is when small issues become emergencies.
- October to November: Cool-down window. Good time for a professional inspection before the system idles for the mild winter. Also when exterior insulation damage from a full summer of sun becomes obvious.
- December to January: Mild winter. The AC may still run on warm afternoons. Filter checks and a quick drain flush are enough; this isn’t a heavy maintenance window.
That’s the calendar. The sections below walk through each task in the order it matters most. If you’d rather have a technician run the whole list at once, AC repair visits in Pearland typically include a check of these same components.
The Filter Change Math for Pearland Homes
The standard advice is “change your filter every 90 days.” For a lot of Pearland homes, that’s too infrequent. The right interval depends on how much airborne particulate your specific house pulls in, and Pearland has more of it than the average suburb.
Homes near active construction zones, undeveloped lots, or land being cleared for new development see noticeably more dust and debris moving through their return air. Homes with pets see more. Homes with a 1-inch filter see more loading per square inch than homes with a 4-inch media filter. Here’s the practical math we use:
- 1-inch filter, standard suburban lot, no pets: check at 30 days, replace at 45 to 60 days during cooling season.
- 1-inch filter, pets or near construction: check at 30 days, replace at 30 to 45 days. Some homes need it monthly.
- 4-inch media filter, standard home: 90 days is usually fine, but check at 60 days the first year to learn your home’s actual loading rate.
- 4-inch media filter, pets or near construction: 60 to 90 days, verified by visual check rather than a calendar.
How to know your real interval in one season
Pull your filter on the first of the month for three months in a row during the season. Hold it up to a light. If you can’t see light through the pleats, you went too long. Whatever interval that tells you is your home’s number, and it doesn’t change much from year to year unless your household or the neighborhood does.
A clogged filter is the start of a chain reaction: restricted airflow, a cold evaporator coil, ice forming on the coil, and a system that stops cooling while it’s still running. That ice often gets blamed on refrigerant when the filter was the real problem. Getting the filter right is the single most effective thing a Pearland homeowner can do.
Drain Line Maintenance in Pearland’s Humidity Load
An AC system pulls moisture out of the air, and in Pearland’s summer humidity that moisture volume is significant. The condensate it produces drains away through a small PVC line from the indoor coil to a drain pan or floor drain. When that line clogs, water backs up, the system trips a safety switch or starts leaking into the pan, and in the worst cases the coil freezes because the airflow is restricted by ice. This is the most common cooling failure we see, and it’s the most preventable one.
The typical guidance is one drain flush a year. For a Pearland home running its system six months under heavy humidity, once a year doesn’t match the moisture load. Here’s what we recommend instead:
- April, before season: Full flush. Pull the cap on the drain tee (most installs have one), pour white vinegar through the line, and let it flush the accumulated biofilm.
- Monthly, May through September: Drop a slow-dissolving drain tablet into the pan or tee. These are designed to keep the line clear between flushes and cost very little.
- Mid-season, July: Second full vinegar flush. Six weeks of continuous condensate flow is enough to build up a new film, especially in a humid climate.
- October, after season: Final flush and a visual check of the drain pan for standing water, algae growth, or debris.
What to look for on the safety switch
Most systems have a float switch in the pan that shuts off the unit if the pan fills. If your system stops running with no other obvious cause, check the pan first. Standing water in the pan almost always means a clogged drain, and a technician can clear it or diagnose whether the line needs rerouting. Never bypass the float switch to get the system running; that’s the safety feature that keeps water out of your ceiling.
If the drain has been a repeat problem, it may be a slope issue or a line that’s undersized for the moisture load, and that’s worth discussing with a technician during any routine AC repair in Pearland visit.
Inspecting Refrigerant Line Insulation on the Exterior Run
On most homes the copper refrigerant lines run from the outdoor condenser up the side of the house to the indoor air handler, exposed to the weather for part of that run. That insulation degrades faster in this climate than in cooler parts of the country, because it sees direct sun for more months and a longer summer overall. Cracked or missing insulation on the suction line lets the line sweat, adds heat gain to the system, and reduces efficiency; on the liquid line it’s less critical but still worth keeping intact.
What to look for
- Sun-cracked outer wrap: the black or gray foam or the tape wrap on the exterior run should be smooth and continuous. If it’s brittle, peeling, or crumbling to dust when you rub it, it’s failing.
- Sections of bare copper visible: the copper should never show on the suction line. Bare copper that sweats on a humid day is losing you cooling capacity.
- Water streaks on the wall: condensate from a poorly insulated line can stain siding or brick and soak the area around the penetration.
- Compression damage: anything pressing the line against a wall, a corner, or the corner of a pad can crush insulation over time.
Re-insulating a run is a straightforward job. It’s the kind of thing a technician can handle quickly during a maintenance visit; on newer equipment using Carrier or Trane components it’s still the same copper lines and insulation, and the physics don’t change with the brand.
Why this matters more here
A Pearland summer puts hundreds of hours of direct sun on that exterior run. In milder climates the insulation might last years without attention. Here, the exposed sections weather faster, and it’s worth checking every spring rather than waiting for a symptom.
What to Check on the Condenser Pad After Heavy Rain
The outdoor condenser sits on a concrete or composite pad, usually beside the house. Our soil here is clay-heavy in many parts of the area, which expands and contracts with moisture, and heavy rain events can leave standing water or cause settling over time. One of the most overlooked maintenance checks is a walk-around of the condenser pad after a big storm or a stretch of heavy rain.
The four-point pad check
- Level: Is the unit sitting level? A pad that’s tilted means the compressor inside the condenser is running off its normal orientation, which stresses the isolation mounts and the compressor itself over time.
- Standing water: Does the pad or the area around it hold water after the rain stops? Persistent standing water around the base promotes rust, degrades the pad, and in the worst cases gets into the cabinet seams.
- Refrigerant line stress: Does the copper line still flex without strain when the pad settles? Settling pads pull on both the line and the electrical conduit. If the line goes taut or bends sharply at a fitting, that’s a stress point.
- Cabinet and coil condition: Rust at the bottom edge of the condenser cabinet and debris packed into the bottom of the coil are signs the unit’s been sitting in water.
If the pad has clearly settled or the lines are under tension, don’t try to shim the unit or re-route lines yourself; refrigerant lines are under pressure and moving one improperly can cause a leak. This is a job for a tech. If you’re on the fence, an AC installation consultation can also cover whether the current pad placement will work long-term if replacement is on the table.
Outdoor Unit Clearances and Coil Condition
The condenser coil is the part of your system that dumps heat from the house into the outdoor air, and it needs airflow to do that job. When foliage, mulch, or outdoor debris gets close to the unit or packed into the coil fins, the system can’t reject heat efficiently, it runs longer cycles, and eventually it overpressures and shuts off or fails.
Clearance guidelines
- At least 24 inches of clear space on all sides and above the top of the unit. More is better on the sides that face prevailing summer sun.
- Two feet from shrubs and fences. Trim them back periodically during the season; spring growth often shows up right when the system starts running hard.
- No storage or debris against the cabinet. Bags of potting soil, old lumber, and fallen limbs are all common sights; none of them belong against the coil.
Coil rinsing
The outdoor coil is designed to be rinsed clean with a garden hose on a gentle spray. No pressure washer; high pressure bends the aluminum fins and hurts performance. Rinse from the inside out where possible, and look for cottony debris packed into the fins, which is a common sight in Pearland because of the area’s trees and pollen load. On the front side of the season (before May), a quick rinse is usually enough. If the fins are visibly bent, matted, or packed with debris that won’t rinse out, a technician should clean the coil professionally. If you own American Standard or Bryant equipment or a system from another of the nine major brands, the coil cleaning method doesn’t change; the only variable is how it’s accessed.
The Tasks That Belong to a Technician
A good homeowner checklist stops at a certain line. The tasks above are safe, cheap, and effective. The ones below involve pressurized refrigerant, line voltage, or components that can injure you if handled wrong, and they belong to a licensed technician. We’re not going to walk you through doing them yourself, because an honest HVAC professional won’t either.
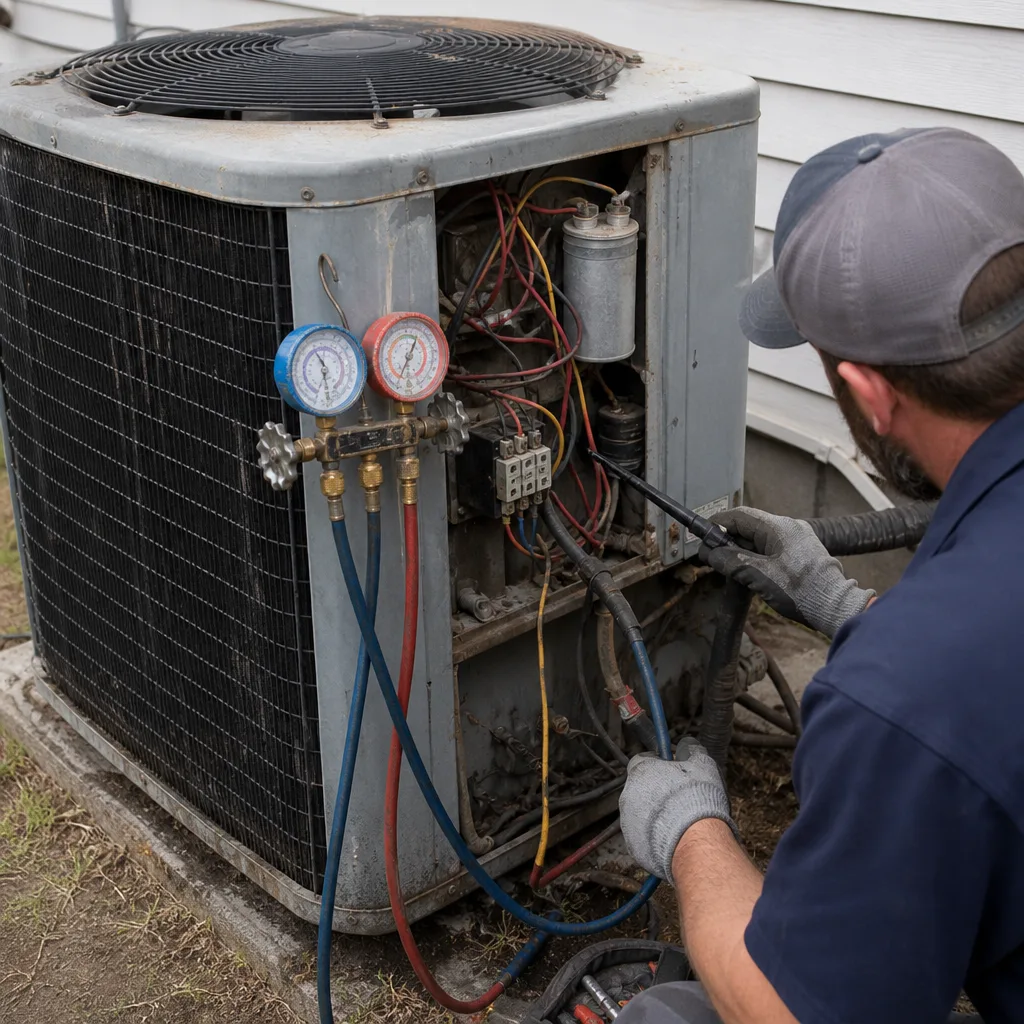
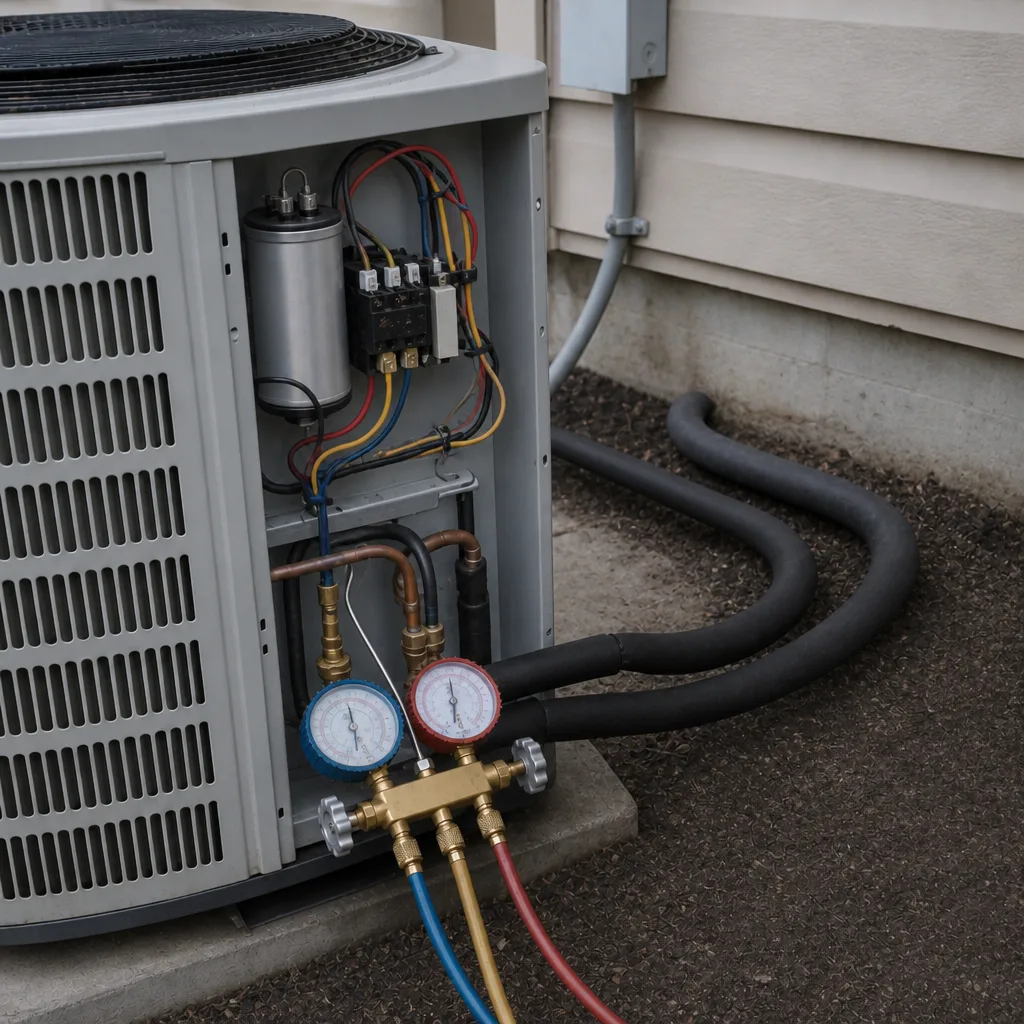
- Refrigerant level and pressure check: Requires gauges and a working knowledge of superheat and subcooling to interpret. Refrigerant lines are under high pressure; opening them is not a homeowner job. Note as well that a system running low on refrigerant has a leak, and “topping off” without locating the leak is a temporary fix at best.
- Electrical component inspection: Capacitors, contactors, and the disconnect have live line voltage. Capacitors hold a charge after power is removed. This is dangerous; leave it to a trained technician.
- Evaporator coil cleaning: The indoor coil requires disassembly of panels and careful cleaning. Damaging the coil fins or cracking a pan is easy, and reinstalling panels incorrectly affects airflow.
- Blower motor and belt inspection: Some tasks involve pulling the blower assembly and reading motor current, again involving live electricity.
- Full system performance measurement: Airflow, temperature split across the coil, static pressure, and amp draw on the compressor all need instruments and training.
- Drain line clearing with a tool: If a vinegar flush doesn’t clear a drain, aggressive tools can crack a pan or damage a fitting. A technician has the right equipment and can check the slope at the same time.
For those tasks, we run through them during routine visits, and we can also handle a no-cooling call any day of the week when a system fails. For callers who want to know what we work on, we’re certified across nine leading brands: Carrier, Trane, Lennox, Goodman, Rheem, York, Daikin, Bryant, and American Standard.
Common Mistakes to Avoid
- Treating “90-day filter changes” as a universal rule. In a Pearland home near construction or with pets, 90 days can be twice as long as the filter actually lasts. Let the filter tell you, not the calendar.
- Flushing the drain once a year and calling it done. Given the moisture load of a full cooling season here, monthly tablets plus a mid-season flush prevent more drain failures than one annual flush ever will.
- Bypassing the float switch to keep the system running. The switch is the safety feature protecting your ceiling and walls from a drain backup. Bypassing it trades a small repair for a large one.
- Pressure-washing the outdoor coil. A pressure washer flattens the aluminum fins and reduces heat transfer permanently. A garden hose is enough.
- Ignoring the pad after heavy rain. Settled pads stress refrigerant lines and compressors. A quick visual check after a storm catches it before the damage compounds.
- Assuming a frozen coil means “just needs Freon.” More often than not, a frozen coil is caused by restricted airflow from a clogged filter or a clogged drain, not low refrigerant. Misdiagnosing it means the real cause keeps coming back.
- Treating every AC problem as a replacement. A lot of what gets sold as “you need a new system” is a single-component repair. Get a second opinion on the repair-versus-replace call if the first one feels rushed.
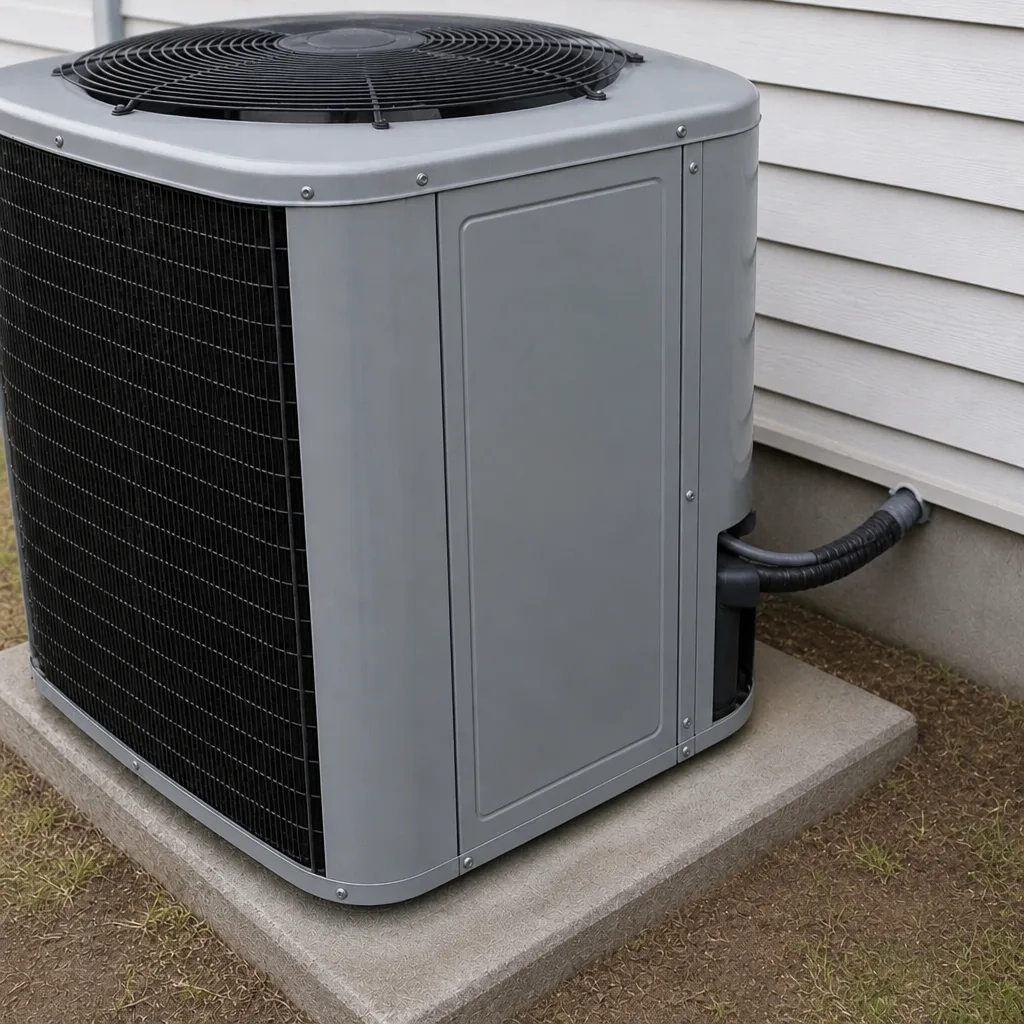
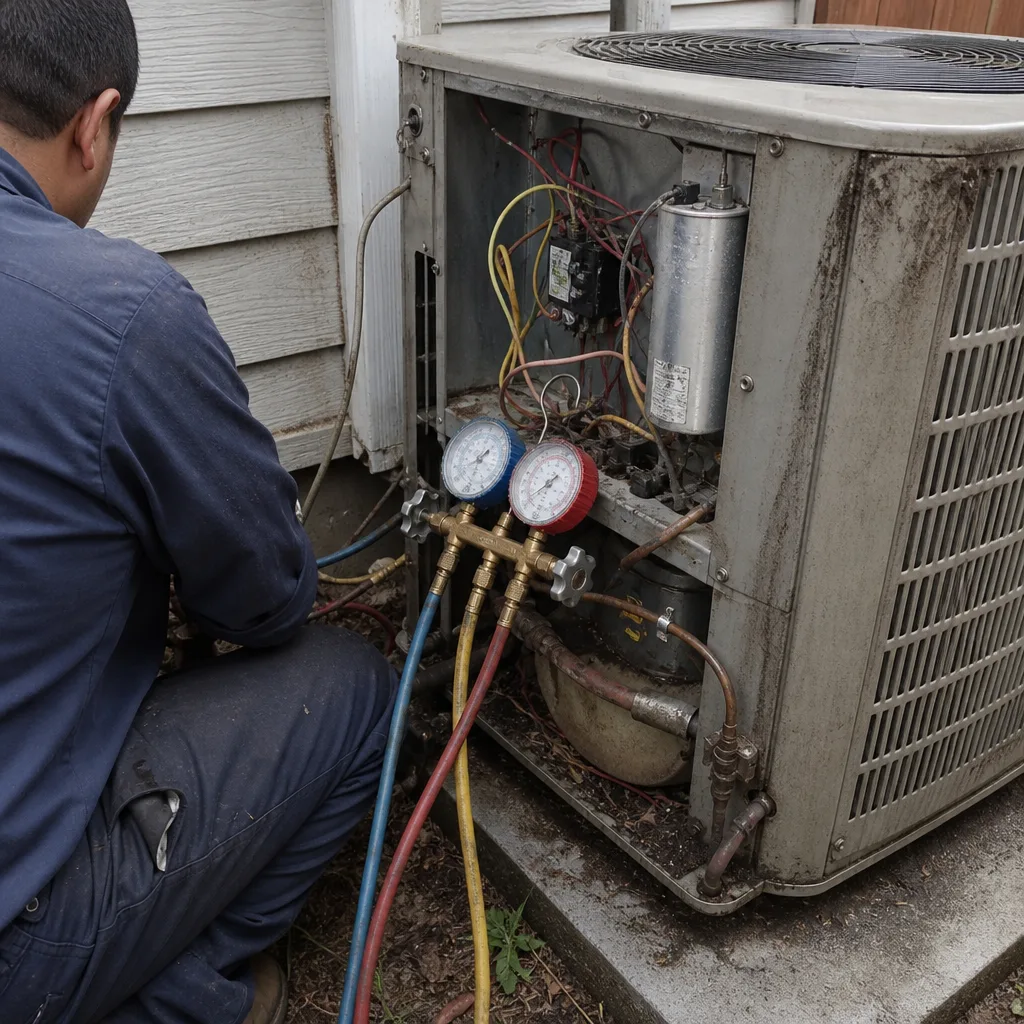
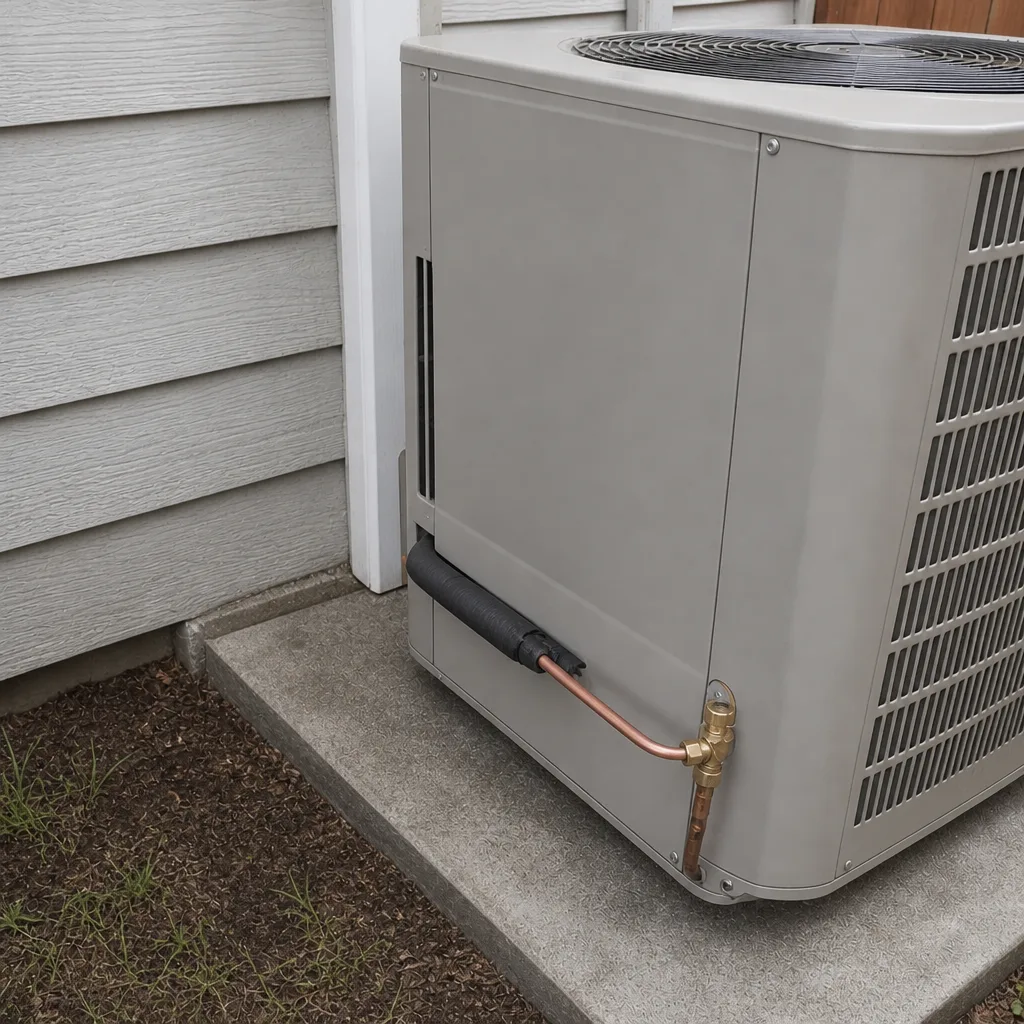
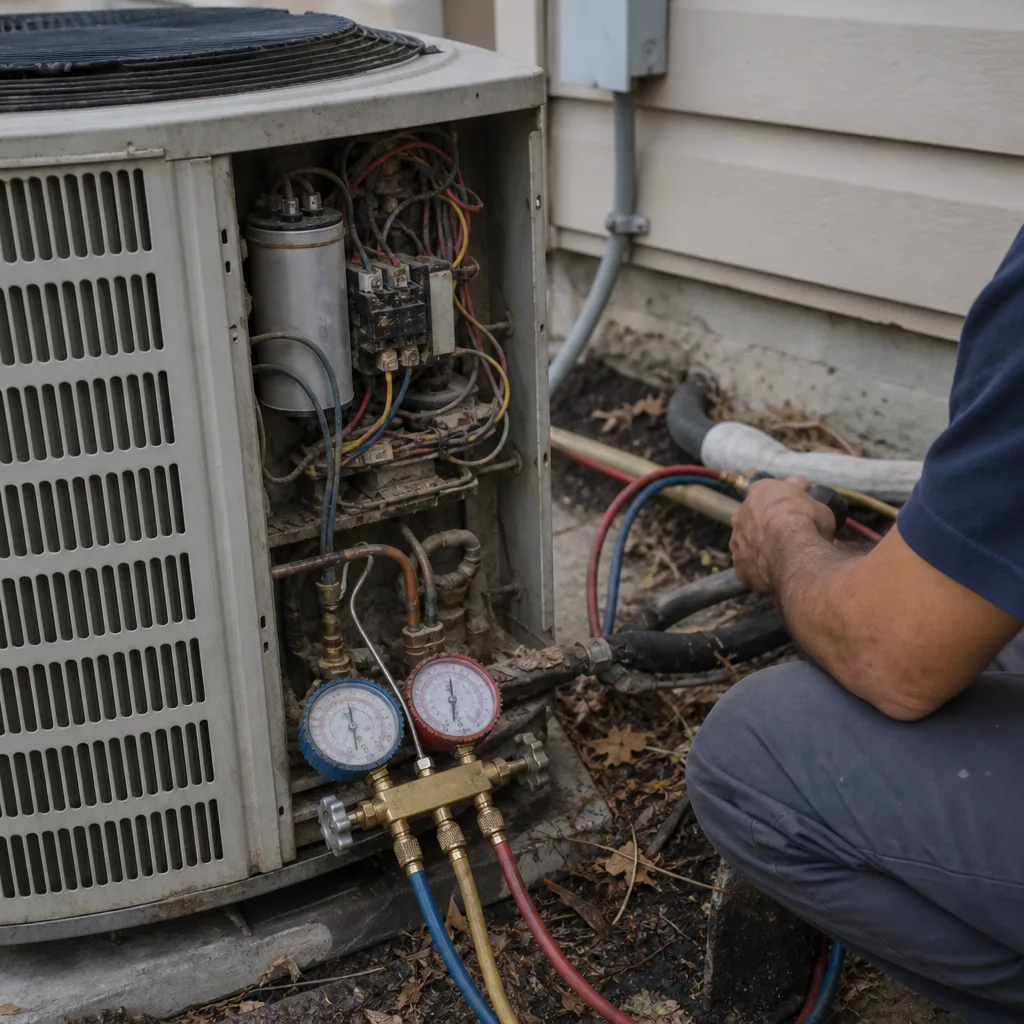
See the difference
 Before
 After
 Before
 After
 Before
 After
When to Call a Professional
Call a professional when the system stops cooling while running, when the indoor coil freezes, when water is pooling in the drain pan or dripping somewhere unexpected, when you smell burning or musty odors near the air handler, when the outdoor unit chatters or won’t start, or when you hear any buzzing or sparking at the disconnect. Call when the system runs constantly without holding temperature. Call when a drain won’t clear after a vinegar flush. Call before the cooling season starts if the system is more than eight or nine years old and hasn’t been inspected recently, since a pre-season check catches small issues before they become a July breakdown. If the choice between repair and replacement is on your mind, get it answered before the heat arrives, not during a 95-degree afternoon when the urgency pushes the decision.
AC Repair Pearland offers free estimates in Pearland. Call (833) 946-7622. We answer 24/7. Fast dispatch from 7am to 7pm, Sunday through Friday.
Frequently Asked Questions
Every 30 to 60 days during cooling season for most Pearland homes with 1-inch filters, and every 60 to 90 days for 4-inch media filters. Homes near construction zones, undeveloped lots, or with pets often need the shorter end of that range. Check the filter at 30 days the first time so your home’s real interval shows itself, then follow that number. Call (833) 946-7622 for a maintenance visit that includes a filter check and system inspection.
Frozen evaporator coils almost always trace back to restricted airflow or a drain backup, not low refrigerant. A clogged filter and a clogged condensate line are the two most common causes we see. A frozen coil needs to thaw completely before diagnosis, and a technician can confirm the actual cause once it has. Call (833) 946-7622 to schedule a diagnostic visit; estimates are free.
For monthly drain tablets during May through September, yes, given Pearland’s humidity load. A once-a-year vinegar flush is the standard advice, and it’s not enough for a system running under this much moisture stress. Monthly tablets plus a mid-season flush prevent more drain clogs than a single annual flush ever will. If a drain repeatedly clogs, call (833) 946-7622 to have it inspected for slope or sizing issues.
Look at pad level, standing water around the base, refrigerant line tension, and rust at the bottom of the cabinet. A settled pad pulls on the refrigerant lines and stresses the compressor over time. If the pad is clearly tilted or the lines are under strain, don’t move the unit yourself; call (833) 946-7622. Refrigerant lines are pressurized, and moving them incorrectly can cause a leak.
Exterior line insulation typically lasts a handful of years before UV exposure cracks and peels it, and the sun-exposed sections on the side of a Pearland home wear faster than shaded or interior runs. Check it each spring. Concrete pads are long-lived but can settle when the clay-heavy soil under them moves. Inspect after heavy rain. Call (833) 946-7622 if either needs attention.
Repair usually makes sense when the system is under about eight years old, the repair is isolated, and efficiency hasn’t dropped noticeably. Replacement makes more sense when repairs are stacking up, the system is over roughly a decade old, or efficiency losses have you running it longer and longer each summer. We won’t push either direction without an honest cost comparison; a brand-new system is sometimes the more expensive choice over time and sometimes it isn’t. Call (833) 946-7622 for a free estimate on both paths.
The Bottom Line
Most mid-summer AC failures in Pearland are preventable. Filters changed on your home’s real interval, drain lines flushed on a schedule that matches the humidity load, exterior line insulation checked each spring, and a quick pad walk-around after heavy rain will prevent the majority of the emergencies we get called about. The technician-side tasks (refrigerant, electrical, coil cleaning) belong to a professional, and skipping them for a few seasons is how small issues become replacements. The season here is long; the maintenance window at the front of it is short. Get the easy tasks on a calendar now and the hard problems mostly never arrive.
When you do need a hand, or when you’d rather have the whole checklist run at once by someone certified across Carrier, Trane, Lennox, Goodman, Rheem, York, Daikin, Bryant, and American Standard equipment, we’re easy to reach. For homeowners across Pearland, heating and cooling both fall under the same team. Call (833) 946-7622 for a free estimate. We answer 24/7. Fast dispatch from 7am to 7pm, Sunday through Friday.
Written by the team at AC Repair Pearland.